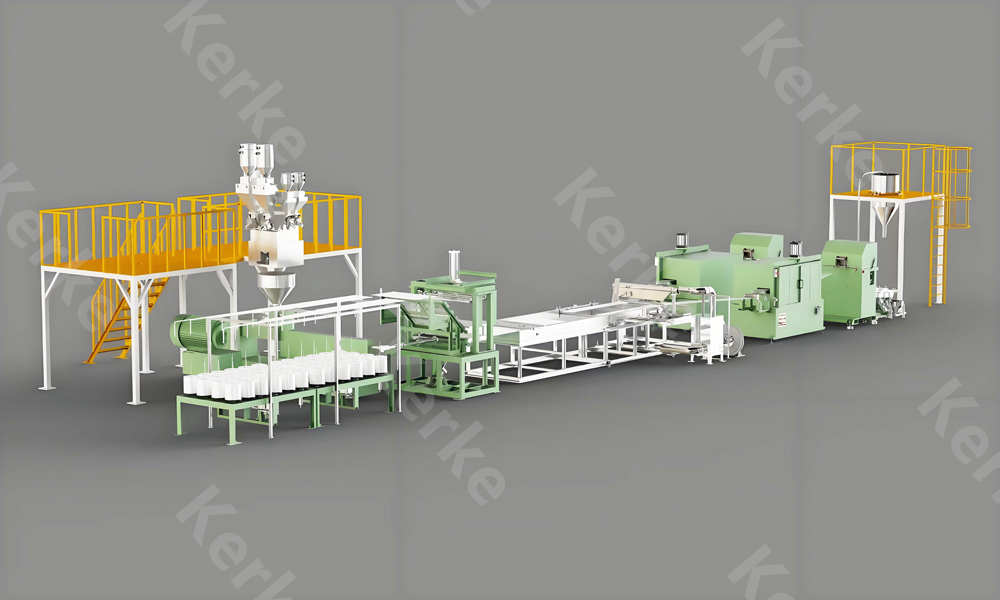
요약: 트윈 스크류 압출기의 압출 시스템은 소재의 가소화, 혼합 및 이송을 담당하는 핵심 유닛입니다. 해당 시스템의 고장은 제품 결함(거친 표면, 기포, 스트랜드 파단 등), 생산 중단 및 장비 손실을 직접적으로 초래합니다. 본 문서는 온도 이상 및 압력 변동 등 7가지 핵심 고장 유형에 중점을 두어, 구체적인 고장 증상, 단계별 문제 해결 프로세스, 정밀한 해결 방안 및 운영 시 주의사항을 상세히 기술합니다. 모든 해결 방안은 현장 실무 운영 상황을 고려하여 설계되었으며, 기술자가 문제를 신속하게 위치 파악하고 해결할 수 있도록 직접적으로 안내합니다.
1. 서론
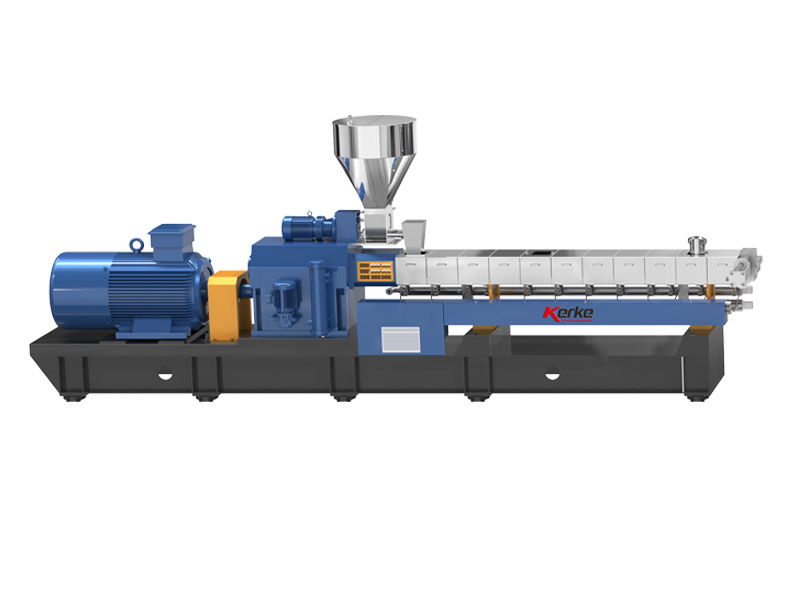
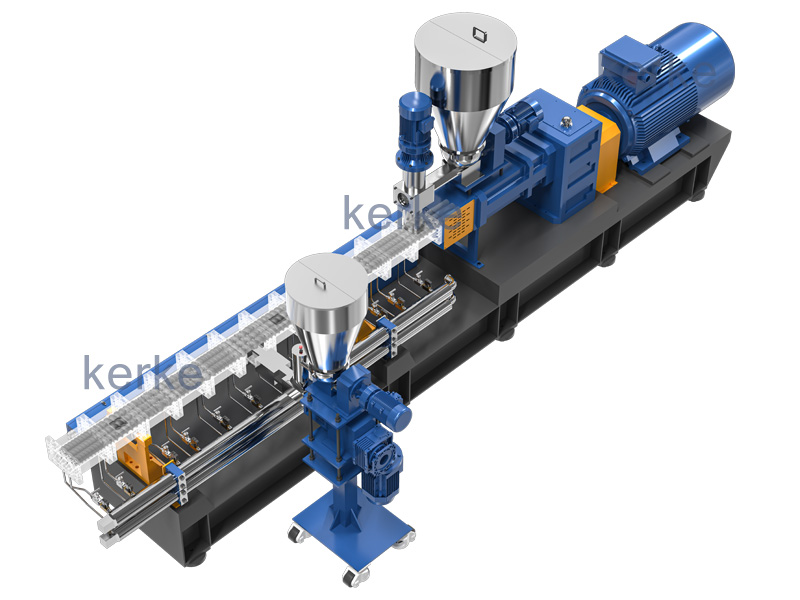
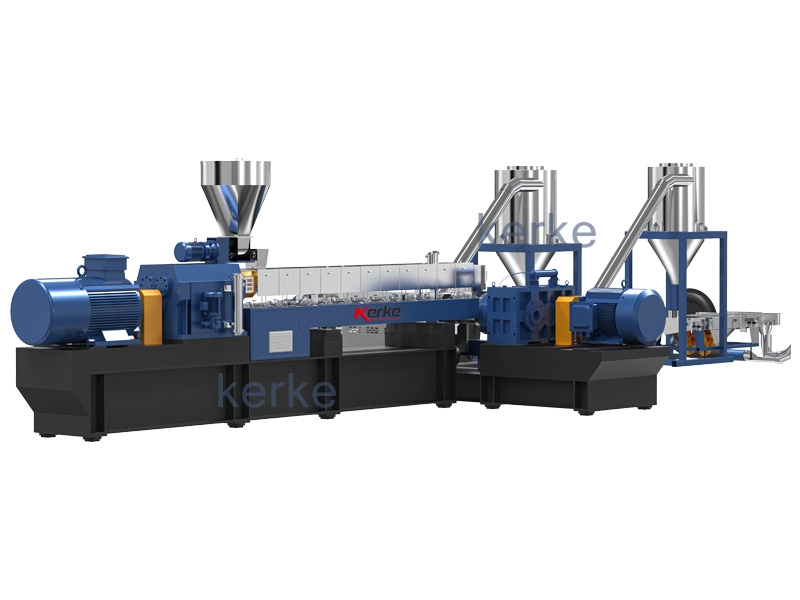
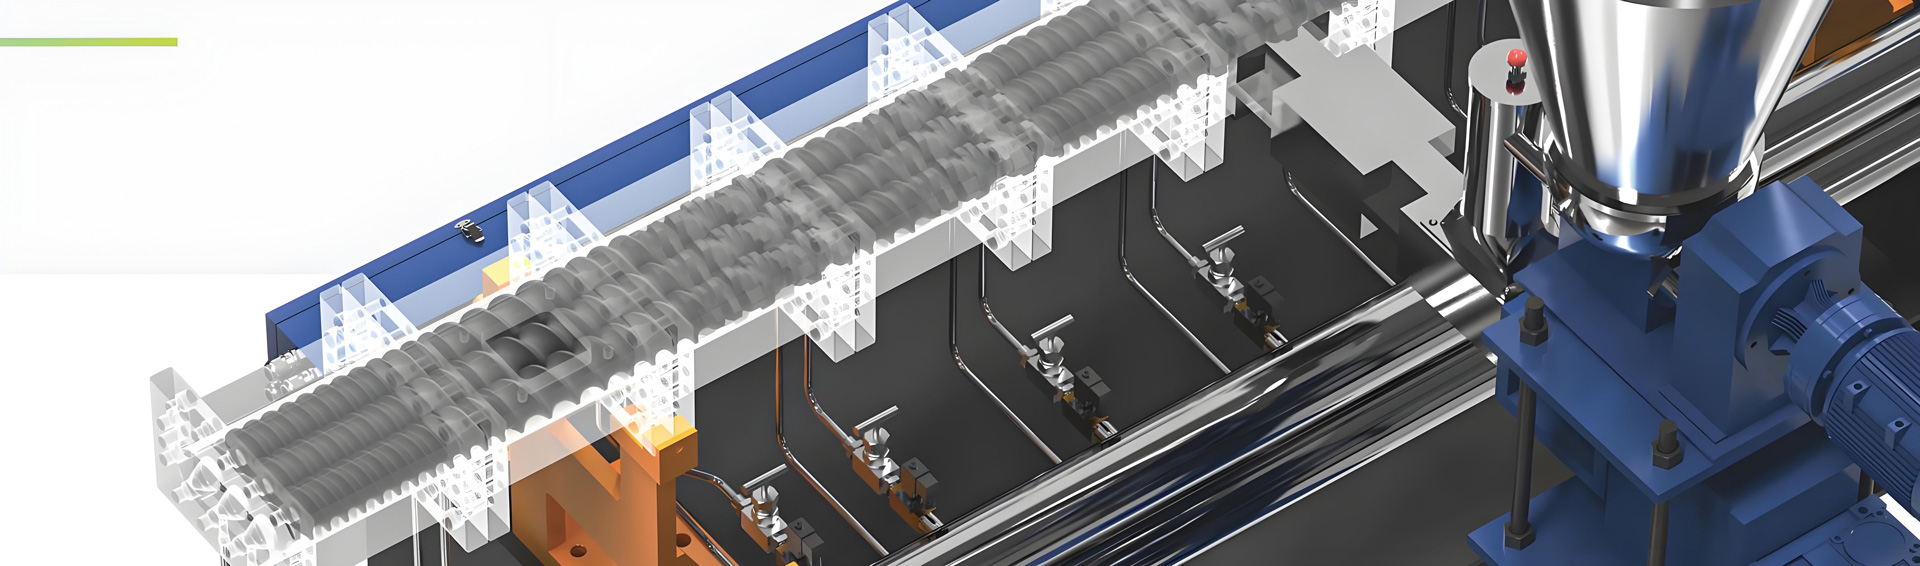
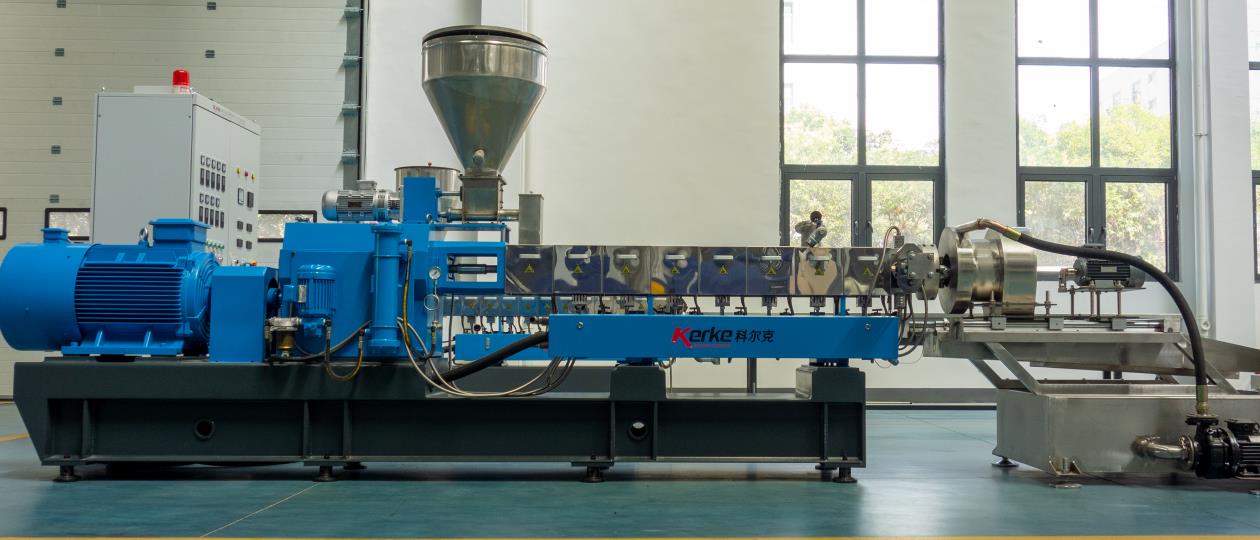
트윈 스크류 압출기의 압출 시스템은 배럴, 스크류, 공급 장치, 가열 및 냉각 시스템, 다이 헤드 및 몰드, 배기 시스템, 메인 구동 시스템으로 구성됩니다. 이 시스템은 장시간 고온(150-300℃), 고압(10-30MPa) 및 고전단 환경에서 작동합니다. 부품 마모, 파라미터 불균형, 소재 특성 변화 등으로 인해 고장이 발생할 가능성이 높습니다. 현장 문제 해결 시 “먼저 현상 관찰 → 다음으로 파라미터 검출 → 마지막으로 부품 분해”라는 원칙을 따르며, 비파괴적 문제 해결 방법을 우선시하여 다운타임 손실을 줄여야 합니다.
2. 핵심 고장의 상세 분석 및 해결 방안
2.1 온도 제어 이상 (가장 흔한 고장, 약 35% 차지)
핵심 판단 기준: 온도 제어 계기 표시값과 실제 배럴 온도 간 편차가 >±5℃이거나, 10분 내 변동이 >8℃인 경우; 소재의 가소화 부족(백화 현상, 입자 상태) 또는 과도한 분해(황변, 타는 냄새)가 나타나는 경우.
| Specific Fault Manifestations | Step-by-Step Troubleshooting Process | Targeted Solutions | Operational Precautions |
| The temperature of a certain section of the barrel is too low, the instrument shows it meets the standard but the material plasticization is poor; the heater does not generate heat | 1. Observe the appearance of the heater: Check for blackening, bulging, or loose terminal blocks; 2. Measure the heater resistance with a multimeter: Compare with a normal heater of the same model, a resistance of 0 (short circuit) or infinity (open circuit) indicates a fault; 3. Check the thermocouple: Pull out the thermocouple, heat the probe with a lighter, and observe if the instrument heats up quickly (no heating indicates a fault with the thermocouple or instrument); 4. Check the cooling water circuit: Check if there is water flow in the corresponding section of the cooling water pipe (close if mistakenly opened) and if there is water leakage (water leakage will reduce the temperature) | 1. Replace the faulty heater: Select a heater of the same power (commonly 2-5kW) and installation size, fasten the terminal blocks, and put on insulating sleeves; 2. Repair the thermocouple: If loose, reinsert it into the barrel temperature measuring hole and tighten it; if damaged, replace it with a thermocouple of the same model (commonly K-type); 3. Close the mistakenly opened cooling water circuit and replace the leaking water pipe joints or seals; 4. Adjust the temperature setting: Optimize the segmented temperature curve according to the material type (e.g., PP set at 180-220℃, PVC set at 160-190℃) | The power must be cut off before operation, and wait for the barrel to cool down to below 50℃; avoid scalding when replacing the heater, and ensure the wiring is firm to prevent short circuits |
| Temperature is too high, material turns yellow and degrades; cooling system does not work | 1. Check the cooling water circuit pressure: Normal pressure is 0.2-0.4MPa, a pressure of 0 indicates a blocked water circuit or a faulty water pump; 2. Observe the solenoid valve: Check if there is an absorption sound when energized, and if water can pass through by manually pressing the solenoid valve core; 3. Check the temperature control instrument: Check if it is in an “out of control” state (the set value remains unchanged but the actual temperature continues to rise); 4. Investigate screw shear: Check if the screw configuration has been replaced recently (excessive kneading blocks can easily lead to excessive shear heat generation) | 1. Clean the cooling water circuit: Close the water circuit, disassemble the water pipe joints, and purge with a high-pressure air gun or circulate and clean scale with a 5% citric acid solution; 2. Replace the faulty solenoid valve: Select a solenoid directional valve of the same model (commonly DN15-DN25) and ensure the voltage matches (AC220V or DC24V); 3. Calibrate or replace the temperature control instrument: Reset the PID parameters (P=5-10, I=60-120, D=5-10), and replace the temperature control module if necessary; 4. Optimize the screw configuration: Reduce the number of high-shear kneading blocks and increase conveying elements (such as forward-threaded blocks) | Air in the pipeline must be exhausted after cleaning the water circuit; adjusting the screw configuration requires shutting down the machine and disassembling the barrel to ensure the correct installation direction of the screw elements |
| Temperature fluctuates greatly, the displayed value of the instrument jumps frequently by more than ±10℃; product quality is unstable | 1. Measure the power supply voltage with a multimeter: Normal voltage is 380V±10%, a fluctuation of >5% requires investigating the power grid; 2. Check the heater terminal blocks: Check for looseness or oxidation (oxidation will cause poor contact); 3. Check the thermocouple: Check for looseness or material accumulation in the temperature measuring hole (affecting temperature measurement accuracy); 4. Check the material: Check if the water content is too high (steam at the feed inlet) or the particle size is uneven | 1. Install a voltage stabilizer: If the voltage fluctuates greatly, install a three-phase voltage stabilizer (capacity matching the total power of the extruder); 2. Treat the terminal blocks: Polish the oxide layer with sandpaper, re-fasten, and apply conductive paste; 3. Clean the thermocouple: Pull out the thermocouple, clean the material in the temperature measuring hole, reinsert and tighten it; 4. Dry the material: Put the material into a dryer (temperature 80-120℃, time 2-4h) to control the water content <0.5%; 5. Stabilize feeding: Check if the feeder speed fluctuates, and adjust the feeder inverter parameters if necessary | A standard thermometer should be used for comparison when calibrating the instrument; avoid excessive temperature when drying materials to prevent material caking |
2.2 용융 압력 이상 (제품 치수 정밀도에 직접적 영향, 높은 고장 위험)
핵심 판단 기준: 정상 압력 범위는 소재에 따라 다르지만 일반적으로 5-25MPa이며, 압력이 갑자기 >30MPa로 상승하거나 <3MPa로 하강하거나, 1분 내 변동이 >5MPa인 경우; 다이 헤드 배출 속도가 급격히 변화하는 경우.
| Specific Fault Manifestations | Step-by-Step Troubleshooting Process | Targeted Solutions | Operational Precautions |
| Pressure is too high, exceeding the safety threshold and triggering an alarm shutdown; die head discharge is slow, and the product becomes thick | 1. Check the die head filter screen: Observe the pressure difference before and after the filter screen (normal <5MPa, >8MPa indicates blockage); 2. Check the mold flow channel: Disassemble the die head and observe if there is coked material or foreign matter blocking the flow channel; 3. Check the material plasticization: Check if there are unplasticized particles in the discharge (insufficient plasticization will increase flow resistance); 4. Check the feeding amount: Check if the feeder speed is abnormally high (excessive feeding); 5. Check the temperature: Check if the temperature of the die head and the last section of the barrel is too low (low temperature increases material viscosity) | 1. Replace the die head filter screen: Select the filter screen mesh according to the material properties (commonly 40-120 mesh); before replacement, turn off the feeding, reduce the screw speed, and operate after the pressure drops below 5MPa; 2. Clean the mold flow channel: Clean the coked material with a copper scraper (to avoid scratching the flow channel) and wipe it clean with a high-temperature cloth; 3. Increase the plasticization temperature: Increase the die head temperature by 5-10℃ and extend the heat preservation time by 10-15 minutes; 4. Adjust the feeding amount: Reduce the feeder speed to restore the normal production flow; 5. Optimize the screw configuration: Increase forward conveying elements, reduce shear elements, and reduce material residence time | High-temperature resistant gloves and goggles must be worn when replacing the filter screen; cleaning the mold requires shutting down the machine and cooling it to below 100℃ to avoid scalding |
| Pressure is too low, discharge amount is small; product size is too thin; screw wear is severe | 1. Measure the gap between the screw and the barrel: Measure with a feeler gauge (normal gap 0.1-0.3mm, exceeding 0.5mm indicates severe wear); 2. Check the feeding system: Check if the feeder is idling, the hopper is blocked, or the material is bridging (no feeding); 3. Check the vent: Check if there is material leakage (leakage will cause pressure drop); 4. Check the temperature: Check if the barrel temperature is too high (material degradation reduces viscosity and pressure drops) | 1. Replace worn components: Replace the screw if it is worn, and replace the barrel liner (using a bimetallic liner) if the barrel liner is worn; 2. Repair the feeding system: Clean the blocked material in the hopper, install an anti-bridging device (such as a vibrator), and replace the worn screw or impeller of the feeder; 3. Seal the vent: Replace the vent seal ring and fasten the sealing gland; 4. Adjust the temperature curve: Reduce the temperature of the middle section of the barrel by 5-10℃ to avoid excessive material degradation; 5. Adjust the screw speed: Appropriately increase the speed (5-10r/min) to match the material flow characteristics | The power must be cut off and the machine shut down when measuring the gap to ensure the screw is stationary; replacing the screw and barrel requires professional personnel to operate to ensure installation concentricity |
2.3 생산량 감소 또는 불안정 (생산 효율에 직접적 영향, 큰 경제적 손실)
핵심 판단 기준: 정상 생산 대비 생산량이 >10% 감소한 경우; 1시간 내 생산량 변동이 >5kg인 경우(일반 용량 50kg/h 기준); 메인 모터 부하가 불안정한 경우.
| Specific Fault Manifestations | Step-by-Step Troubleshooting Process | Targeted Solutions | Operational Precautions |
| Output continues to decline, the screw speed remains unchanged but the discharge amount gradually decreases; product density decreases | 1. Check the screw and barrel wear: Observe if there are unplasticized particles in the discharge (wear leads to insufficient shear plasticization); 2. Check the heating system: Check if each section of the heater is working normally (measure the barrel surface temperature with an infrared thermometer and compare with the instrument display); 3. Check the feeding system: Check if the actual feeder speed is consistent with the set speed (inverter display value); 4. Check the vacuum system: Check if the vacuum degree meets the standard (normal -0.06~-0.08MPa, insufficient vacuum affects material compaction) | 1. Replace the worn screw/barrel: If the gap >0.5mm, it must be replaced to ensure plasticization and conveying efficiency; 2. Replace the faulty heater: Confirm the non-heating section of the heater with an infrared thermometer and replace it with a heater of the same power; 3. Calibrate the feeder: Adjust the feeder inverter parameters to ensure accurate speed, and replace the worn feeder screw; 4. Repair the vacuum system: Check the vacuum pump oil level (replenish if insufficient), clean the material blockage in the vacuum pipeline, replace the leaking seal ring, and ensure the vacuum degree is stably around -0.07MPa | Residual material in the barrel must be thoroughly cleaned before replacing components; an electronic scale should be used for weighing verification when calibrating the feeder (weigh the discharge amount for 10 minutes) |
| Output fluctuates greatly, discharge is fast and slow; main motor current jumps | 1. Check the feeding uniformity: Observe if the material in the hopper falls continuously and if the feeder impeller is stuck; 2. Check the main motor inverter: Check for fault codes and if the output frequency fluctuates; 3. Check the melt pressure: Check if the pressure fluctuates synchronously with the output (pressure fluctuation >5MPa affects output); 4. Check the material properties: Check for differences in particle size and water content between batches (sample and test water content) | 1. Upgrade the feeding system: Replace the volumetric feeder with a loss-in-weight feeder (accuracy ±0.5%) and install a level sensor (to prevent hopper emptying); 2. Overhaul the main motor inverter: Clean the inverter cooling fan, check if the output voltage is stable, and reset the V/F parameters if necessary; 3. Stabilize the melt pressure: Optimize the temperature and screw configuration to reduce pressure fluctuation; 4. Standardize material pretreatment: Uniformly dry all materials (water content <0.1%) and screen materials with uniform particle size (particle size deviation <2mm) | Adjusting inverter parameters requires professional electricians to operate; the loss-in-weight feeder needs regular calibration of weighing accuracy |
2.4 배출 불균일 및 제품 결함 (가장 직관적인 고장, 제품 합격률에 직접적 영향)
핵심 판단 기준: 제품에 스트랜드 파단, 거친 표면, 기포, 검은 점 등 결함이 있는 경우; 동일 배치 제품의 치수 편차가 >±0.5mm인 경우.
| Specific Fault Manifestations | Step-by-Step Troubleshooting Process | Targeted Solutions | Operational Precautions |
| The product surface is rough and granular; there are unplasticized materials in the discharge | 1. Check the temperature: Check if the temperature of each section of the barrel reaches the material plasticization temperature (e.g., PE requires 160-200℃); 2. Check the screw configuration: Check if the number of shear elements is insufficient (few kneading blocks); 3. Check the material: Check if there are impurities or excessive water content; 4. Check the mold: Check if the mold temperature is too low and if there are burrs in the flow channel | 1. Increase the plasticization temperature: Increase the temperature of each section by 5-10℃ and extend the heat preservation time by 15 minutes; 2. Optimize the screw configuration: Add 1-2 groups of kneading blocks (such as 45° or 60° kneading blocks) to enhance shear mixing; 3. Pretreat the material: Screen to remove impurities and vacuum dry (temperature 80-120℃, time 3h); 4. Heat the mold: Increase the mold temperature by 10-15℃ and polish the burrs in the mold flow channel with fine sandpaper | Avoid scratching the flow channel when polishing the mold; observe if the material degrades after increasing the temperature to avoid overheating |
| The product has bubbles and internal hollowness; there is a lot of steam at the vent | 1. Check the material water content: Put a small amount of material into an oven (120℃, 1h) and observe if there is a lot of water vapor; 2. Check the venting system: Check if the vacuum degree meets the standard and if the vent is blocked; 3. Check the feeding section temperature: Check if the feeding section temperature is too high (>100℃ will cause premature evaporation of water); 4. Check the material degradation: Check if there is a burning odor (degradation produces gas) | 1. Deeply dry the material: Use a vacuum dryer at a temperature of 100-130℃ for 4-6h to control the water content <0.1%; 2. Clean the venting system: Disassemble the vent, clean the blocked material with a copper scraper, and check if the vacuum pipeline is unblocked; 3. Adjust the feeding section temperature: Reduce the feeding section temperature to 60-80℃ to avoid premature evaporation of water; 4. Optimize the temperature curve: Reduce the temperature of the middle section of the barrel by 5-10℃ to avoid material degradation | Dried materials must be stored in sealed containers to avoid re-absorbing moisture; the machine must be shut down and cooled before cleaning the vent, and protective equipment must be worn |
| The product has black spots and coked material; there is an odor inside the barrel | 1. Check the barrel/screw: Observe if there is carbon deposition or coked material adhesion on the surface after disassembly; 2. Check the heater: Check if there is local overheating (temperature control out of control); 3. Check the filter screen: Check if the filter screen has not been replaced for a long time (blockage causes material retention); 4. Check the material: Check if there are thermosensitive components (easily decomposed) | 1. Clean the barrel and screw: Disassemble the screw, clean the carbon deposition with a steel wire brush + high-temperature cleaning agent (such as special screw cleaning agent), and polish with sandpaper if necessary (avoid scratching the surface); 2. Replace the faulty heater: Calibrate the temperature control instrument to ensure the temperature control accuracy is ±2℃; 3. Regularly replace the filter screen: Replace the filter screen every 2-4h according to the material impurity content; 4. Adjust the process: Reduce the barrel temperature by 5-10℃ and shorten the material residence time (increase the screw speed) | Avoid hitting with hard objects when cleaning the screw to prevent screw deformation; relieve pressure according to the operating procedures when replacing the filter screen to avoid material splashing |
2.5 배기 배출 (진공 배기 모델에서 흔한 고장, 소재 낭비 발생하기 쉬움)
핵심 판단 기준: 소재가 배기구를 통해 지속적으로 넘쳐흐르고 진공도가 급격히 하락하는 경우; 바닥에 소재가 쌓이는 경우.
| Specific Fault Manifestations | Step-by-Step Troubleshooting Process | Targeted Solutions | Operational Precautions |
| Vacuum vent discharge, the vacuum degree suddenly rises (>-0.05MPa); material plasticization is poor | 1. Check the material plasticization: Check if there are unplasticized particles in the discharge (poor plasticization leads to poor material sealing and easy suction into the vent); 2. Check the vacuum degree: Check if the setting is too high (>-0.08MPa); 3. Check the screw configuration: Check if the kneading block is located directly below the vent (will push the material to the vent); 4. Check the feeding amount: Check if it has suddenly increased | 1. Improve plasticization: Increase the temperature of 1-2 sections before the vent by 5-10℃ and increase the number of kneading blocks (enhance plasticization sealing); 2. Adjust the vacuum degree: Reduce to -0.06~-0.07MPa; 3. Optimize the screw configuration: Move the kneading block to 50-100mm in front of the vent and increase the forward conveying elements before the vent; 4. Stabilize the feeding amount: Reduce the feeder speed by 5-10% to avoid excessive feeding | Fine-tune the vacuum degree gradually and observe the vent status; adjusting the screw configuration requires shutting down the machine and ensuring the firm installation of the screw elements |
| Natural vent discharge, material overflows in a molten state; vent is blocked | 1. Check the vent: Check if there is coked material or material accumulation blocking; 2. Check the temperature: Check if the temperature from the feeding section to the vent is too low (<150℃, the material is not plasticized and cannot form a stable material column); 3. Check the feeding amount: Check if it exceeds the screw conveying capacity; 4. Check the screw speed: Check if it is too low (insufficient conveying efficiency) | 1. Clean the vent: Clean the blocked material with a copper scraper, and disassemble the vent cover for thorough cleaning if necessary; 2. Increase the temperature: Increase the temperature from the feeding section to the vent by 10-15℃ to ensure the material is plasticized to form a stable material column; 3. Reduce the feeding amount: Reduce the feeding amount by 10-15% to match the screw conveying capacity; 4. Increase the screw speed: Increase by 5-10r/min to improve conveying efficiency | High-temperature resistant gloves must be worn when cleaning the vent to avoid contact with molten material; observe the main motor current after increasing the speed to avoid overloading |
2.6 이상 진동 및 소음 (기계적 고장의 조기 경고 신호, 즉시 문제 해결 필요)
핵심 판단 기준: 장비 진동 진폭이 >0.5mm인 경우(진동계로 측정); 금속 충돌음, 끼익 소리 등 이상 소음이 발생하는 경우; 기계 베이스 볼트가 느슨해진 경우.
| Specific Fault Manifestations | Step-by-Step Troubleshooting Process | Targeted Solutions | Operational Precautions |
| The barrel vibrates violently, the anchor bolts are loose; there is a metal impact sound | 1. Check the anchor bolts: Check for looseness with a wrench (should be tight and free of shaking under normal conditions); 2. Check the coupling: Check if the coupling between the motor and the gearbox is misaligned (measured with a dial gauge, misalignment >0.1mm indicates abnormality); 3. Check the screw concentricity: Check if it is not concentric with the barrel (observe if the screw rotates eccentrically after disassembling the die head); 4. Check the material: Check if metal foreign objects (such as screws and nuts) are mixed in | 1. Tighten the anchor bolts: Tighten with a torque wrench according to the specified torque (common M20 bolt torque 150-200N·m) and install lock washers; 2. Align the coupling: Adjust the motor position and calibrate with a dial gauge to ensure the misalignment <0.1mm; 3. Align the screw concentricity: Disassemble the barrel, reinstall and position to ensure the screw rotates flexibly without jamming; 4. Clean the metal foreign objects: Shut down the machine and disassemble the die head, use a magnet to extend into the barrel to absorb the foreign objects, and check if the screw is damaged | Aligning the coupling requires professional personnel to operate; the power must be cut off when cleaning foreign objects to avoid accidental rotation of the screw |
| The gearbox emits squealing or dull noise; the bearing temperature is too high (>80℃) | 1. Check the lubricating oil: Check if the oil level is between the oil level gauge scales and if the oil quality is black or contains impurities; 2. Check the bearing: Measure the bearing temperature with an infrared thermometer and listen to the bearing operation sound with a stethoscope (abnormal sound indicates a fault); 3. Check the gear: Check for wear or tooth breakage (requires disassembly for inspection) | 1. Replace the lubricating oil: Drain the old oil, clean the oil tank, and add lubricating oil of the same model (common industrial gear oil 220#); 2. Replace the faulty bearing: Disassemble the gearbox and replace the damaged bearing (matching the equipment model); 3. Repair or replace the gear: If the gear is severely worn, replace the gear set to ensure normal meshing gap | The equipment must be cooled down before replacing the lubricating oil; record the position of the parts when disassembling the gearbox to avoid installation errors |
2.7 메인 모터의 비정상 작동 (전원 공급 고장, 직접적인 정지 유발)
핵심 판단 기준: 모터 전류가 과도하게 높거나(정격 전류의 110% 초과), 불안정하거나, 시동이 걸리지 않는 경우; 모터 온도가 >90℃인 경우.
| Specific Fault Manifestations | Step-by-Step Troubleshooting Process | Targeted Solutions | Operational Precautions |
| The motor current is too high, the overload protection triggers a shutdown; the motor heats up severely | 1. Check the heating system: Check if any heater is not working (unplasticized material will increase torque); 2. Check the die head pressure: Check if it is too high (>30MPa, leading to excessive motor load); 3. Check the screw: Check if it is jammed (coked material blockage or foreign object jamming); 4. Check the power supply: Check if the voltage is too low (<360V, leading to increased current) | 1. Repair the heating system: Replace the faulty heater to ensure sufficient material plasticization; 2. Reduce the die head pressure: Replace the filter screen, clean the mold, and reduce the feeding amount; 3. Clean the screw jam: Shut down the machine and cool it down, disassemble the die head, clean the coked material or foreign objects, and check if the screw is deformed; 4. Stabilize the power supply voltage: Install a three-phase voltage stabilizer to ensure the voltage is stably at 380V±10% | After the overload protection is triggered, the fault must be investigated before resetting; avoid prying hard when disassembling the screw to prevent component damage |
| The motor cannot be started; the alarm light in the control cabinet is on | 1. Check the startup procedure: Check if the temperature is first heated to the set value (cannot be started if not up to standard); 2. Check the circuit: Check if the circuit breaker is tripped and if the contactor is closed; 3. Check the overload protection: Check if the protection switch is triggered (requires manual reset); 4. Check the die head: Check if it is blocked (material solidifies when cooled) | 1. Start strictly according to the procedure: Wait for each section of temperature to reach the set value and keep warm for 10 minutes before starting the motor; 2. Check the circuit: Reset the tripped circuit breaker, check if the contactor coil is faulty (replace the coil); 3. Reset the overload protection: Press the reset button of the protection switch, and start after investigating the cause of the overload; 4. Clean the die head blockage: Heat the die head to the set temperature, clean the solidified material, and ensure unobstructed discharge | The power must be cut off when checking the circuit, and it should be operated by professional electricians; ensure no one is around the equipment before starting the motor to avoid safety accidents |

3. 정밀 예방 정비 전략 (고장률 >60% 감소)
3.1 일일 정비 (교대마다 필수)
- 파라미터 기록: 각 구간의 온도, 압력, 전류, 진공도 및 공급량을 매시간 기록하여 추세 곡선을 형성하고 이상 발생 시 조기 경보 제공
- 육안 검사: 히터, 단자 블록, 냉각수 회로 및 배기구가 정상인지 확인하고 누출 또는 느슨함 여부 점검
- 소재 검사: 소재 공급 상태를 관찰하여 불순물이나 브리징(교차 막힘)이 없는지 확인하고, 건조된 소재는 밀봉 상태로 보관
- 청소 작업: 배기구 및 다이 헤드 주변의 잔류 소재를 청소하여 탄소 침적 방지
3.2 정기 정비 (명확한 주기 및 기준)
| Maintenance Cycle | Maintenance Content | Maintenance Standards |
| Weekly | 1. Clean the cooling water circuit filter; 2. Check the lubricating oil level; 3. Tighten all connecting bolts | Water circuit pressure ≥0.2MPa; oil level between the upper and lower limits of the oil level gauge; no loose bolts |
| Monthly | 1. Calibrate temperature and pressure sensors; 2. Check screw/barrel wear; 3. Clean the die head and mold | Temperature deviation ≤±2℃; pressure deviation ≤±0.5MPa; screw gap ≤0.3mm |
| Quarterly | 1. Replace the lubricating oil; 2. Check bearing wear; 3. Overhaul the feeding system | Lubricating oil is free of impurities and blackening; bearing temperature ≤70℃; feeding accuracy ±0.5% |
| Annual | 1. Fully disassemble the equipment and replace worn components; 2. Calibrate the control system; 3. Conduct equipment performance testing | Output is restored to more than 95% of the new machine; fault rate ≤1 time/month |
3.3 인력 교육 요구 사항
- 조작자는 다음을 숙지해야 함: 일반적인 고장 식별 방법, 기본 문제 해결 단계, 안전 운영 절차(전원 차단 및 화상 방지 등)
- 정비 담당자는 다음을 숙지해야 함: 부품 분해 및 설치 기술, 센서 교정 방법, 기본 회로 문제 해결
4. 결론
트윈 스크류 압출기 압출 시스템의 고장은 종종 “파라미터 불균형, 부품 마모, 소재 문제”라는 세 가지 요인의 중첩으로 인해 발생합니다. 현장 문제 해결 시 “먼저 현상, 다음으로 파라미터, 마지막으로 분해”라는 논리를 따르며, 비파괴적 방법(적외선 온도 측정 및 멀티미터 검출 등)을 우선시해야 합니다. 고장 문제 해결 단계를 정밀화하고, 해결 방안의 운영 기준을 명확히 하며, 일일 및 정기 정비 전략을 시행함으로써 고장으로 인한 다운타임을 크게 줄이고 제품 합격률을 향상시킬 수 있습니다. 실제 적용 시에는 특정 소재 특성(열감수성, 고충전 등)과 장비 모델을 고려하여 공정 파라미터와 정비 주기를 유연하게 조정하고 맞춤형 고장 처리 계획을 수립해야 합니다.