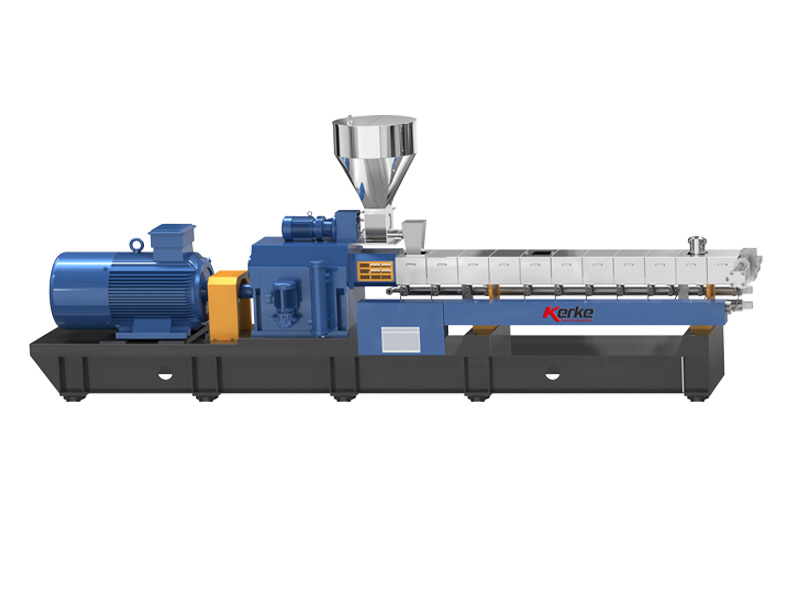
As a core auxiliary unit of twin-screw extruders, the stable operation of the feeding system directly determines extrusion output, material plasticization quality, and the overall operational safety of the equipment. Common faults of this system are mainly concentrated in motor operation abnormalities, poor material conveying, overload heating, speed mismatch, and sealing leakage. The following is a detailed analysis combined with actual working conditions and corresponding solutions.
I. Motor Operation Abnormalities
(I) Motor Failed to Start
Fault Causes: 1. Incorrect startup procedure, failing to follow the startup logic of “lubricating oil pump startup → interlock device reset → emergency stop button reset”; 2. Circuit faults, such as burned fuses, poor contact of power cables, or unreleased induced electricity of the frequency converter; 3. Overcurrent protection or demagnetization protection activation, mostly triggered by excessive load or internal motor faults; 4. Foreign object jamming, such as broken spring pieces, metal impurities entering the barrel, causing the motor load to exceed the rated value.
Solutions: 1. Restart strictly in accordance with the equipment operating procedures, turn off the main power and wait for 5 minutes to release the induced electricity of the frequency converter, reset the emergency stop button and interlock device, and confirm that the lubricating oil pump starts normally; 2. Inspect the main motor circuit, replace burned fuses, fasten power cable connectors, and test circuit continuity; 3. Perform an idle motor test after releasing the protection state; if it operates normally, check the mechanical load end; 4. Disassemble the barrel and gearbox, clean foreign objects between the screw and barrel wall, and install a magnetic frame after restoration to prevent foreign objects from entering again.
(II) Unstable Motor Speed
Fault Causes: 1. Faulty control components, such as aging speed control potentiometers or abnormal gain of the speed loop on the main control board; 2. Severe wear of the brushes of DC servo motors, leading to current fluctuations due to poor contact; 3. Loss of control of the speed linkage between the feeding motor and the main screw, resulting in signal transmission faults; 4. Uneven material supply, causing periodic load changes and fluctuations in the traction motor speed.
Solutions: 1. Adjust the RP5 potentiometer on the main control board (record the original position for restoration); if ineffective, replace the speed control potentiometer and calibrate the main control board parameters; 2. Check the wear degree of the brushes, replace them with new ones in a timely manner, and clean brush dust; 3. Inspect the speed linkage control system, overhaul signal sensors and transmission lines, and ensure that the feeding speed is synchronously adjusted with the main screw speed; 4. Optimize the stability of material supply and troubleshoot subsequent material conveying faults.
II. Poor Material Conveying Faults
(I) Material Blockage and Bridging
Fault Causes: 1. Material characteristic issues, such as high hardness, poor fluidity, or agglomeration due to excessive humidity; 2. Hopper design defects, causing materials to form a “bridging” structure in the hopper that cannot fall; 3. Insufficient cooling at the feed inlet, leading to material adhesion and blockage at the feed inlet due to excessive temperature; 4. Wear of the screw tail seal causing leakage, or wear of threaded elements resulting in reduced conveying efficiency; 5. Fibrous impurities and large particles mixed in materials, winding the stirring blades or blocking the conveying channel.
Solutions: 1. Optimize material pretreatment, crush hard materials, dry to remove moisture, and ensure uniform material particle size and qualified moisture content; 2. Install an arch-breaking device or stirring mechanism in the hopper to prevent material bridging; 3. Strengthen the cooling system at the feed inlet and reduce local temperature to avoid material adhesion; 4. Fasten or replace the screw tail seal, regularly check the wear of threaded elements, and repair or replace them in a timely manner; 5. Install material filtering devices, clean entangled impurities on the hopper and blades, and standardize batching operations to avoid foreign objects mixing.
(II) Uneven Feeding and Reduced Extrusion Output
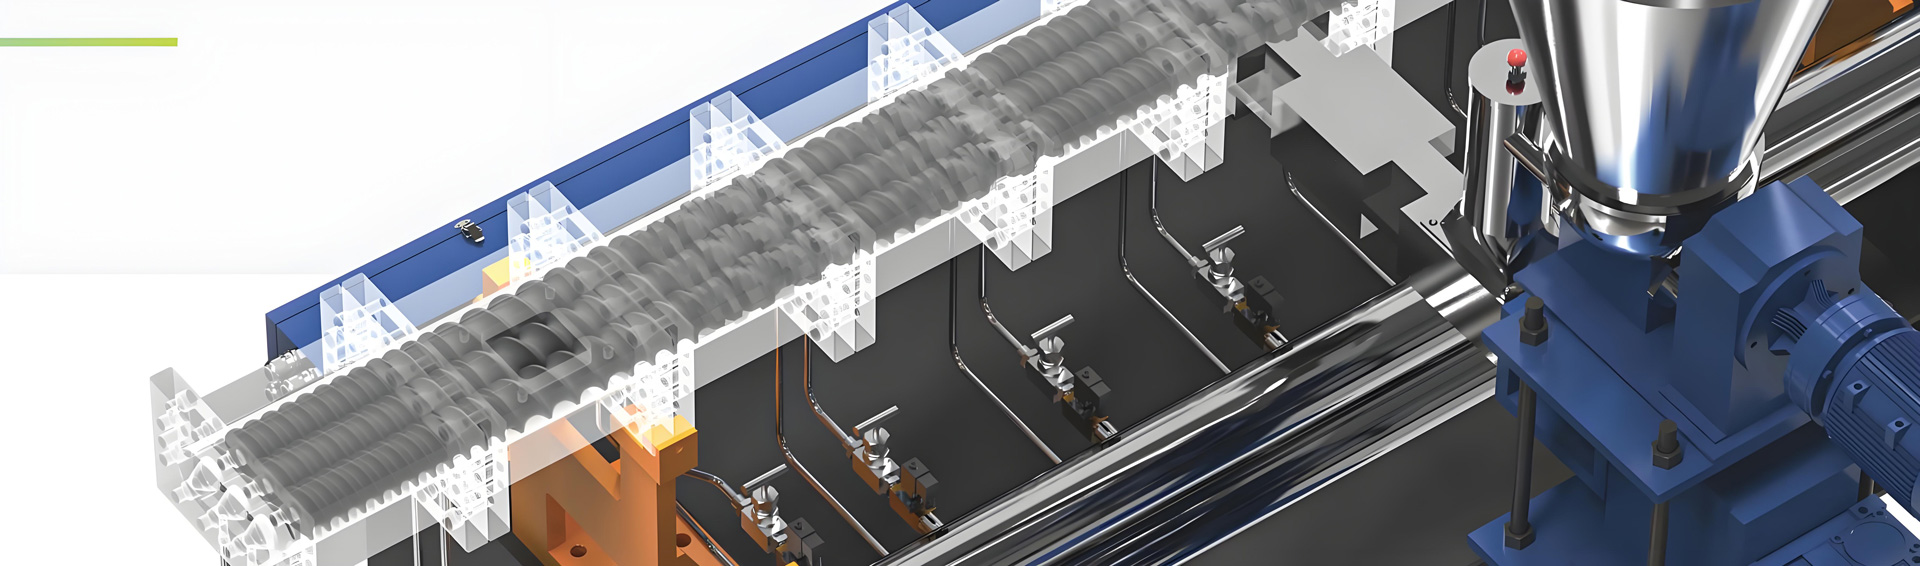
Fault Causes: 1. Fluctuations in the feeding motor speed, leading to periodic changes in the feeding amount; 2. Faulty load cell, resulting in inaccurate measurement signals affecting feeding precision; 3. Misalignment or phase deviation of screw adjustment pads, causing component interference and reduced conveying efficiency; 4. Blockage of the head flow channel or screen changer, leading to material discharge obstruction that feeds back to the feeding end; 5. Excessively large gap between the auger and the mud cylinder wall, or abnormal blade helix angle, failing to effectively push materials.
Solutions: 1. Overhaul the feeding motor control system and bearings to ensure stable speed; 2. Calibrate the load cell, inspect signal transmission lines, and ensure accurate measurement; 3. Check the position of screw adjustment pads, pull out the screw to inspect for interference, and adjust the phase to a reasonable range; 4. Clean the head flow channel, replace the filter screen, and inspect the air/oil pressure system of the screen changer; 5. Adjust the gap between the auger and the cylinder wall to 3-5mm, repair or replace blades with abnormal helix angles to ensure pushing efficiency.
III. Overload Heating Shutdown Faults
Fault Causes: 1. Excessive material resistance, such as hard materials, poor fluidity, or unreasonable screw structure design (excessive kneading blocks and resistance elements); 2. Long-term low-speed operation of the feeder, leading to motor heating due to increased current; 3. Insufficient lubricating oil or blocked oil circuit, intensifying friction of transmission components and increasing load; 4. Severe wear of motor bearings, poor lubrication, and increased operational resistance.
Solutions: 1. Optimize material pretreatment, reduce the number of screw resistance elements, and adjust the screw structure to match material characteristics; 2. Adjust operational parameters to avoid long-term low-speed operation of the feeder, and replace with a large speed ratio reducer if necessary; 3. Check the lubricating oil level, add lubricating oil of the appropriate grade, clean the oil circuit and filter, and ensure the lubrication system is unobstructed; 4. Check the wear degree of motor bearings, replace them in a timely manner, add lubricant, and test the flexibility of bearing operation.
IV. Speed Mismatch and Sealing Faults
(I) Mismatch Between Main Screw and Feeding Speed
Fault Causes: 1. Improper temperature control of each barrel section, leading to poor material plasticization and increased forward resistance due to low temperature; 2. Insufficient cooling at the feed inlet, causing material adhesion and blockage at the feed inlet, making it impossible to increase the feeding speed; 3. Unreasonable screw structure, with excessive hard alloy blocks leading to increased material conveying resistance; 4. Faults in the linkage control system, preventing the feeding speed from tracking changes in the main screw speed.
Solutions: 1. Optimize temperature settings and appropriately increase the barrel temperature to ensure sufficient material plasticization; 2. Strengthen cooling at the feed inlet, clean adhered materials, and ensure unobstructed feeding; 3. Optimize the screw structure and reduce unnecessary resistance elements; 4. Overhaul the linkage control system, debug the signal feedback device, and ensure dynamic balance between the feeding speed and the main screw speed.
(II) Sealing Leakage
Fault Causes: 1. Wear and aging of the screw tail seal, resulting in reduced sealing performance; 2. Loose bolts connected to the extruder, leading to leakage at the interface gap; 3. Gearbox oil leakage, with lubricating oil mixing into materials or leaking from the interface.
Solutions: 1. Regularly check the wear of sealing elements and fasten or replace them in a timely manner; 2. Fasten the screw head and all connecting bolts after 1000 hours of operation and inspect the interface gap; 3. Check the gearbox oil level daily, clean oil leakage points, replace damaged oil seals, and replace lubricating oil periodically.
V. Preventive Maintenance Measures
1. Standardize the operation process, start the machine strictly in accordance with the startup sequence, keep the hopper material moist when shutting down for more than 8 hours, and empty the barrel material when shutting down for more than 2 days; 2. Establish a regular maintenance ledger, disassemble the barrel every 8000 hours of operation or one year, inspect the wear of screws and sealing elements, and replace vulnerable parts; 3. Strengthen material control to ensure the cleanliness, particle size, and moisture content of materials meet standards, and avoid foreign objects and unqualified materials entering the system; 4. Regularly calibrate control system components, including sensors, potentiometers, speed control devices, etc., to ensure accurate signals and stable operation; 5. Check the oil level, oil temperature, and oil circuit smoothness of the lubrication system daily to ensure sufficient lubrication of transmission components and control the oil temperature below 65℃.
Through the above targeted analysis and solutions, various faults of the feeding system can be effectively diagnosed and resolved. Combined with regular preventive maintenance, the operational stability of the equipment can be significantly improved, the fault shutdown rate can be reduced, and the continuous and efficient operation of extrusion production can be guaranteed.