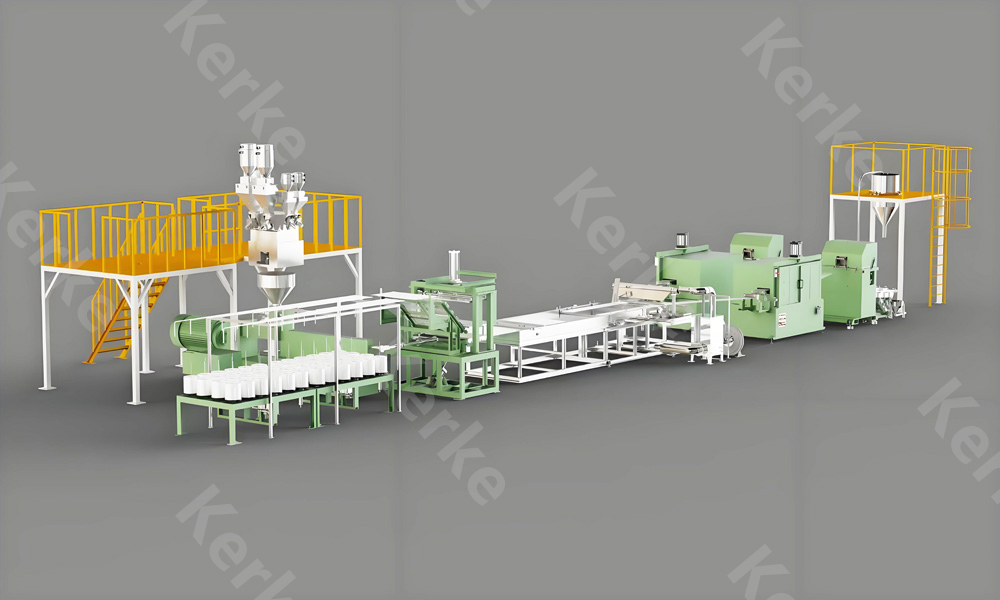
The feeding system is the heartbeat of a masterbatch extruder. It is responsible for accurately metering raw materials, additives, and carriers into the extruder barrel at a consistent rate. Any inconsistency in feeding directly translates to variations in color, concentration, and mechanical properties of the final masterbatch. For twin screw extruders used in masterbatch production, the feeding system often involves loss-in-weight (LIW) feeders or volumetric screw feeders, sometimes combined with liquid injection systems. Proper maintenance is not just about preventing breakdowns; it is about ensuring process stability and product quality. This article outlines a comprehensive maintenance strategy for the feeding system, with insights into Kerke Extruder’s robust feeding technologies and detailed cost-benefit analysis of preventive maintenance.
The Importance of the Feeding Zone in Twin Screw Extruders
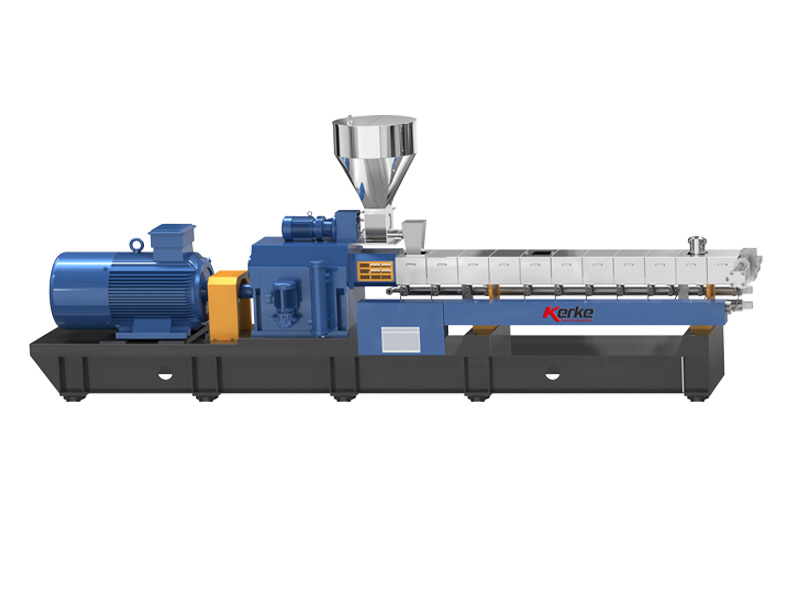
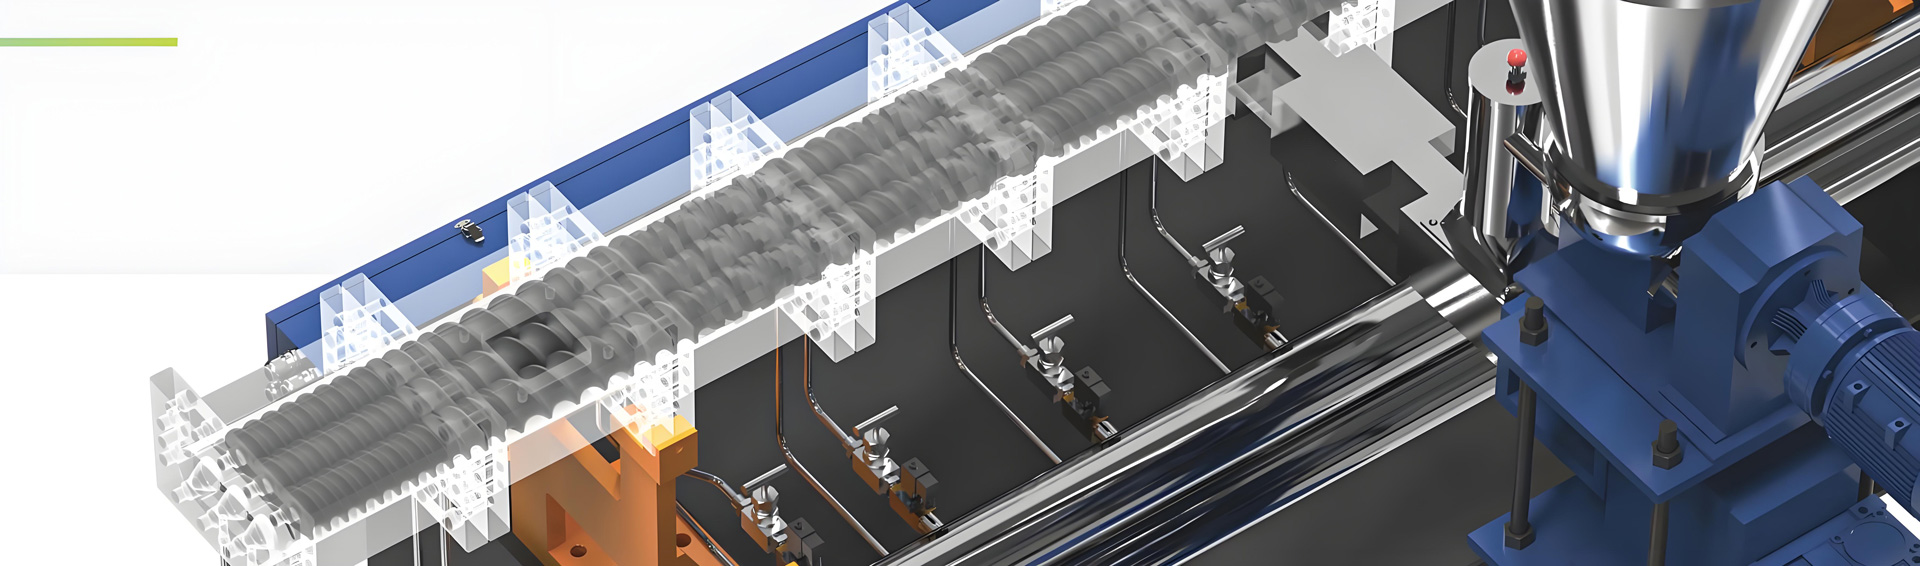
In a co-rotating twin screw extruder, the feeding section is typically located at the top, though side feeders are also common for liquids or reactive additives. Unlike single screw extruders, twin screws are self-wiping, but they still rely on a consistent supply of material to maintain the seal in the kneading blocks. If the feed rate fluctuates, the screws may not be fully filled, leading to poor mixing and inconsistent shear history. This is catastrophic for masterbatch quality, where precision is paramount—often requiring tolerances of ±0.5% on additive concentration. Therefore, the feeder and the connection to the extruder (the throat) must be maintained in pristine condition to prevent air entrainment and material degradation. The feeding system is often the first point of failure in an extrusion line, accounting for nearly 40% of all downtime incidents if not properly maintained.
Key Components of the Feeding System
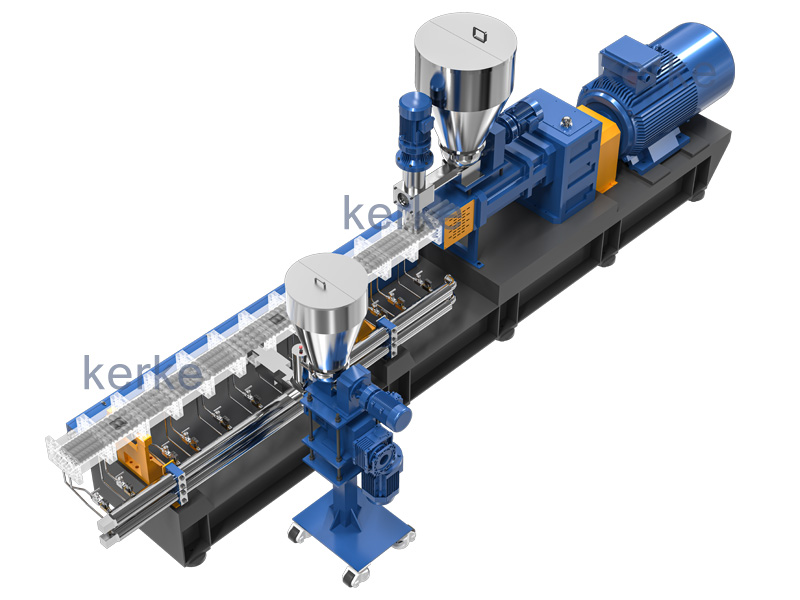
A typical feeding system for a masterbatch extruder consists of several integrated components:
1. Hoppers/Silos: Storage of raw materials (resin, pigment, additives).
2. Feeder: Gravimetric (weight-based) or Volumetric (volume-based).
3. Feed Throat: The entry point into the extruder barrel, often with a vacuum vent to remove air.
4. Screw Conveyors: Connecting silos to the feeders.
5. Liquid Injection Pumps: For additives like oils or coupling agents.
Gravimetric Feeders (LIW)
These are the industry standard for high-quality masterbatch. They weigh the material on a load cell and adjust the screw speed to maintain the set flow rate (kg/hr). Maintenance involves checking the load cell calibration, ensuring the hopper is clean, and inspecting the screw for wear. These systems are sensitive to vibration and must be isolated from the extruder’s vibrations.
Volumetric Feeders
These use a screw of fixed geometry rotating at a set speed. They are cheaper but less accurate, especially if material bulk density changes due to temperature or particle size. Maintenance focuses on checking screw wear, motor speed accuracy, and bearing lubrication. They are often used for minor additives where precision is less critical.
Step-by-Step Maintenance Guide
Daily Maintenance Checks (Operator Level)
1. Visual Inspection: Check for material spills around the feeder and hopper. Spilled masterbatch material can absorb moisture (for hygroscopic polymers like Nylon) or contaminate other batches, leading to costly rework. Use spill trays and vacuum cleaners regularly.
2. Hopper Level: Ensure the hopper does not run empty (which introduces air and causes torque spikes) or overfill (which can cause bridging or spillage). Install level sensors with alarms.
3. Vibration and Noise: Listen for unusual noises from the feeder motor or gearbox. Excessive vibration can loosen mounting bolts and affect weighing accuracy. Check for material buildup on the screw shaft which can cause imbalance.
4. Cleaning the Feed Throat: The area where the feeder meets the extruder barrel is prone to material buildup and “dribble.” Use appropriate tools (copper brushes, specialized cleaners) to clean this area to prevent large chunks of degraded material from falling into the extruder, which can cause screen pack blockage or torque spikes.
5. Check Air Lock: Ensure the vacuum vent on the throat is clear. A clogged filter can cause air to be trapped in the material, leading to bubbles in the final product.
Weekly Maintenance (Technician Level)
1. Calibration Check: For gravimetric feeders, run a calibration test using a known weight (e.g., a 10kg test weight). If the deviation is more than 0.5%, recalibrate the system using the manufacturer’s procedure. Document all calibrations.
2. Inspect the Feed Screw: Remove the screw (if possible) or inspect through the inspection port. Check for wear on the screw flights and the feed tube. If the clearance between the screw and the housing increases, the feeder becomes inaccurate (material slips back). Replace worn screws immediately. Hardened screws last longer but are more expensive to replace ($1,500 vs $500 for standard steel).
3. Bearing Lubrication: Check the grease levels in the feeder motor and gearbox bearings. Over-greasing is as bad as under-greasing. Use the specified grease type (often high-temperature synthetic grease).
4. Vacuum Vent Cleaning: If the feed throat has a vacuum vent to remove air, clean the filter bags or sintered metal filters. Clogged filters reduce vacuum efficiency, leading to poor flow or “flooding” of the extruder. Replace filters every 3-6 months.
5. Check Seals and Gaskets: Inspect the connection between the feeder and the throat for air leaks. A leak can cause false weight readings and introduce oxygen, degrading the masterbatch.
Monthly and Quarterly Maintenance (Engineer Level)
1. Drive Belt Tension: Check and adjust V-belts or synchronous belts on the feeder drive. Loose belts cause speed variation. Replace cracked belts immediately.
2. Hopper Cleaning: Completely empty and clean the hoppers. Use mild detergents if necessary, ensuring no residue is left that could contaminate the next batch. For stainless steel hoppers, passivate the surface if corrosion is observed.
3. Load Cell Inspection: Ensure the load cells are not overloaded and that their mounting hardware is secure. Temperature changes can affect load cell readings, so ensure the environment is stable. Perform a corner test (placing weights in different corners of the hopper) to ensure accuracy.
4. Inspect the Feed Throat Liner: The liner in the extruder barrel under the feeder is subject to wear from the material flow and cleaning tools. If it has deep grooves, it should be replaced or re-bored. A worn liner can cause material to hang up, leading to inconsistent feeding. Replacing a liner costs approximately $500-$1,000 plus labor.
5. Motor and Gearbox Service: Change the oil in the feeder gearbox (if oil-lubricated) annually. Check motor brushes (for brushed motors) or cooling fans (for brushless motors).
Common Problems and Solutions
Bridging and Ratholing
Bridging occurs when material forms an arch over the feeder outlet, stopping the flow. This is common with powders or fluffy materials (like carbon black or titanium dioxide). Ratholing is when a vertical channel forms through the material, and only the material in the channel flows out, leaving the rest stagnant. Solutions include using vibratory hopper bottoms, agitators (stirrers), or acoustic cleaners (air cannons). Kerke offers specialized hopper designs with conical bottoms and vibration pads to promote mass flow. The cost of an acoustic cleaner system is around $2,000 but can save hours of downtime.
Inconsistent Feed Rate
If the feed rate fluctuates, check for changes in material bulk density. For regrind or recycled materials, bulk density can vary significantly. A gravimetric feeder compensates for this, but if the variation is too fast, the control loop might not keep up. In such cases, a pre-compaction unit (a small screw that densifies the material before the main feeder) might be needed. Also, check for “flooding” in the feed throat where material comes in faster than the screws can convey it, causing a backup.
Feeder Motor Overload
If the feeder motor trips, it could be due to mechanical binding, material compaction in the screw, or a foreign object. Never reset the overload relay without investigating the cause, as this can burn out the motor. Check the torque limiter setting. If the material is too cohesive, it might require a larger feeder or a different screw design (e.g., a starvation feed screw).
Cost Analysis of Feeding System Maintenance
Neglecting feeding system maintenance can be extremely costly. A typical gravimetric feeder repair kit (screw, liner, seals, load cell recalibration) might cost $2,000. However, if a worn screw allows inaccurate dosing, a batch of 10 tons of masterbatch might be off-spec. If the masterbatch sells for $3,000 per ton, that is a $30,000 loss in material value alone. Furthermore, if the feeder allows air into the extruder, it can cause the polymer to degrade or foam, damaging the screw and barrel. Repairing a damaged barrel (re-boring and nitriding) can cost $8,000+. Additionally, the downtime cost—lost production time—can be $500-$1,000 per hour for a typical extrusion line.
Preventive maintenance costs are relatively low. A comprehensive service kit for a feeder might cost $500 per year. Hiring a technician for a quarterly check might cost $1,500 per visit (4 visits a year = $6,000). Total annual maintenance cost is roughly $7,000. This investment protects against losses that can be 10-20 times higher. Kerke Extruder provides high-durability feeding systems with wear-resistant coatings (like tungsten carbide or chrome plating) for abrasive masterbatches (like glass fiber or mineral filled), extending maintenance intervals from 3 months to 12 months and reducing long-term operational costs by up to 40%.
ROI Example: A plant spends $5,000 annually on preventive maintenance. Without it, they experience 2 major feeder failures per year, costing $10,000 in parts and $40,000 in lost production. The maintenance program saves $45,000 annually, a 900% ROI.
Upgrading Your Feeding System
If you are experiencing chronic feeding issues, it might be time to upgrade. Older volumetric systems can be retrofitted with gravimetric controls (cost: $8,000-$12,000). For difficult-to-feed materials (like nano-clays or fluffy pigments), switching to a side-stuffing feeder or a loss-in-weight system with a pre-fluidizer might be necessary. Kerke offers integrated feeding solutions that communicate directly with the extruder’s main PLC, allowing for synchronized speed control based on torque and pressure. This “closed-loop control” ensures that if the extruder torque increases (indicating higher viscosity), the feeder slows down slightly to maintain stable pressure, further optimizing the masterbatch production process. The cost of such an integrated system upgrade is around $20,000 but can improve yield by 3-5%.
Conclusion
The feeding system is the foundation of accurate and consistent masterbatch production. Regular maintenance, including cleaning, calibration, and inspection of wear parts, is essential to prevent costly production errors and equipment damage. By implementing a rigorous maintenance schedule and utilizing robust equipment from manufacturers like Kerke Extruder, you can ensure high throughput, consistent product quality, and maximize the return on your extrusion investment. Remember, precision starts at the feeder. A well-maintained feeding system is the cheapest and most effective way to improve your bottom line in the masterbatch business. For more information on Kerke’s feeding technologies, visit www.kerkeextruder.com.