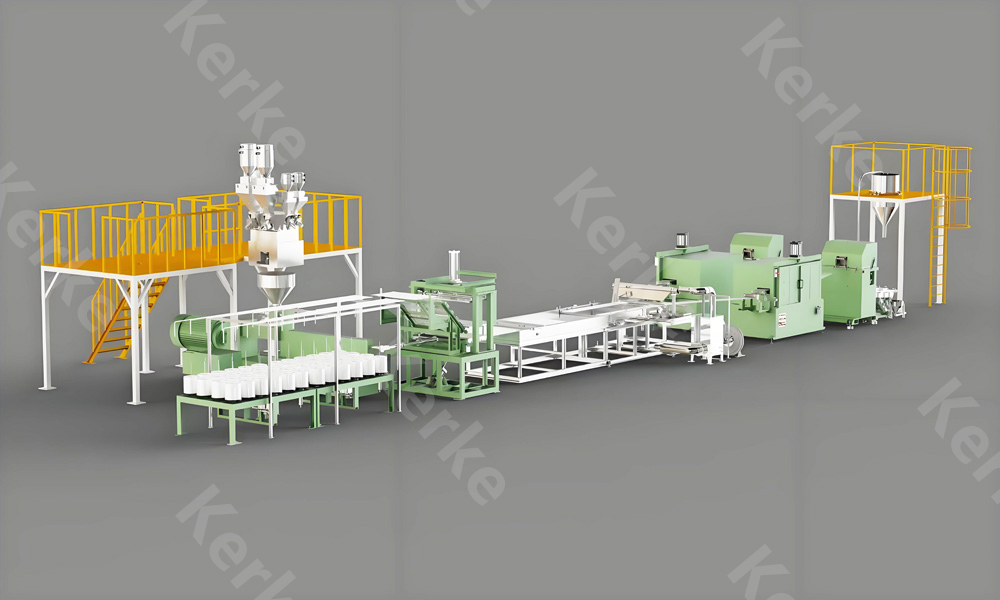
Introduction to the Installation and Commissioning Process
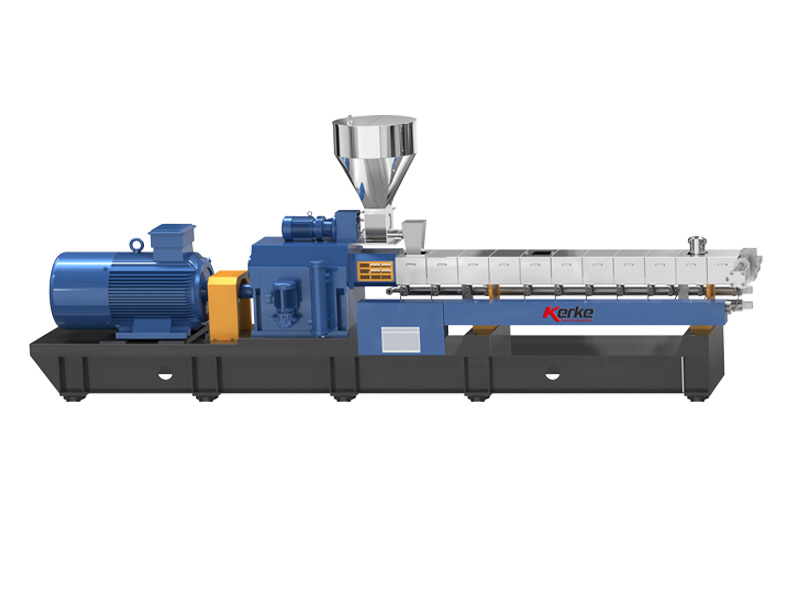
The successful installation and commissioning of a compounding extruder system is a critical phase that determines the machine’s future performance, energy efficiency, and longevity. A poorly installed machine can suffer from chronic vibration, misalignment, electrical issues, and inconsistent product quality. This process is not just about bolting the machine to the floor; it involves civil engineering, precision mechanical assembly, electrical integration, and complex process tuning. For a high-performance machine like a Kerke twin screw extruder, following the manufacturer’s guidelines precisely is essential to validate the warranty and ensure optimal operation. This article outlines the comprehensive steps required to bring a new compounding line online, from the initial foundation work to the final handover of documentation.
Site Preparation and Foundation Engineering
Before the machine arrives, the factory floor must be prepared to handle immense weight and dynamic forces. A compounding extruder, especially a large co-rotating twin screw model, is incredibly heavy. The main unit, gearbox, and motor can weigh over 10 tons for a 75mm system, and the total system weight with feeders and pelletizers can exceed 15 tons. Furthermore, the machine generates significant vibration during operation. The foundation must be a reinforced concrete block, typically at least 300mm to 500mm thick, depending on the machine size and local soil conditions. The concrete must have a compressive strength of at least C30 (30 MPa) to prevent cracking under the static load.
Vibration isolation is crucial. The foundation should be isolated from the main factory floor using vibration-damping pads or springs to prevent the transmission of vibration to other sensitive equipment (like CNC machines or lab equipment). The cost of a proper foundation can range from $2,000 to $5,000 depending on local construction costs and the need for excavation. Skipping this step or using a standard factory floor can lead to the machine loosening bolts over time, losing alignment, and suffering from premature bearing failure. The foundation must also include cable trenches and conduit pipes for utilities (power, water, compressed air) to reach the machine location safely and neatly. Poor cable management can lead to tripped breakers or damaged hoses during operation.
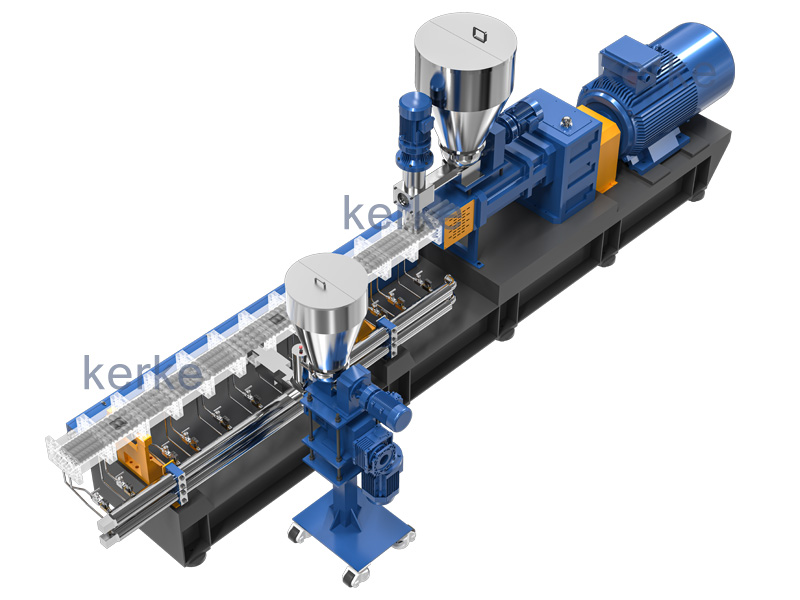
Unpacking, Handling, and Mechanical Assembly
Upon arrival, the machine should be inspected immediately for shipping damage. The main extruder unit, gearbox, and motor are usually shipped as separate modules or fully assembled on a heavy-duty base frame. Using a heavy-duty overhead crane or forklift (with a capacity rating exceeding the heaviest component, typically >10 tons for medium machines), the units are carefully lifted and positioned over the foundation. Extreme care must be taken not to damage the machined surfaces (like the barrel flange) or the electrical control cabinet during this maneuver. Dropping a gearbox can cost $20,000 in repairs instantly.
Leveling is the first and most critical mechanical step. The base frame is placed on precision leveling jacks or shims. A precision laser level or high-accuracy dial indicator is used to ensure the base frame is level within 0.1mm/m in both longitudinal and transverse directions. If the base is not perfectly level, the barrel will experience uneven stress when heated, leading to distortion and poor screw-to-barrel clearance. Once leveled, the frame is grouted into the concrete foundation using non-shrink epoxy grout to lock it in place permanently. This grouting process takes 24 to 48 hours to cure fully. Rushing this step by tightening bolts before the grout sets can ruin the alignment. The cost of precision leveling tools and grouting materials is minimal (approx.$500) compared to the risk of misalignment.
Electrical and Utility Connections
Compounding extruders require substantial electrical power and utilities. A standard 75mm extruder might require a 110kW main motor, plus heaters (30kW), feeders (10kW), and a pelletizer (15kW), totaling around 165kW to 200kW of installed power. The voltage is typically 380V/415V, 3-phase, 50/60Hz. A dedicated transformer and switchgear are required. The cable sizing must account for inrush currents (which can be 5-7 times the running current). Improper wiring can cause voltage drops that trip the drives during startup, causing frustration and delays. The cost of the electrical infrastructure is often as high as the machine itself, ranging from $10,000 to $30,000 for a new line.
Utilities include cooling water for the barrel and gearbox, compressed air for the hopper loader and pneumatic cylinders, and industrial water for the pelletizer. The water quality is critical; hard water causes scaling (limescale) inside the cooling channels, which acts as an insulator and reduces heat transfer efficiency, leading to poor temperature control. A water chiller is often recommended for precise temperature control, adding a capital cost of roughly $5,000 to $12,000 to the project, but it significantly improves process stability and reduces scrap. All connections must be pressure-tested for leaks before startup. A water leak into the electrical cabinet can cause catastrophic short circuits and fire hazards. Using high-quality hoses and fittings is a small cost that prevents massive damage.
Lubrication and Hydraulic System Preparation
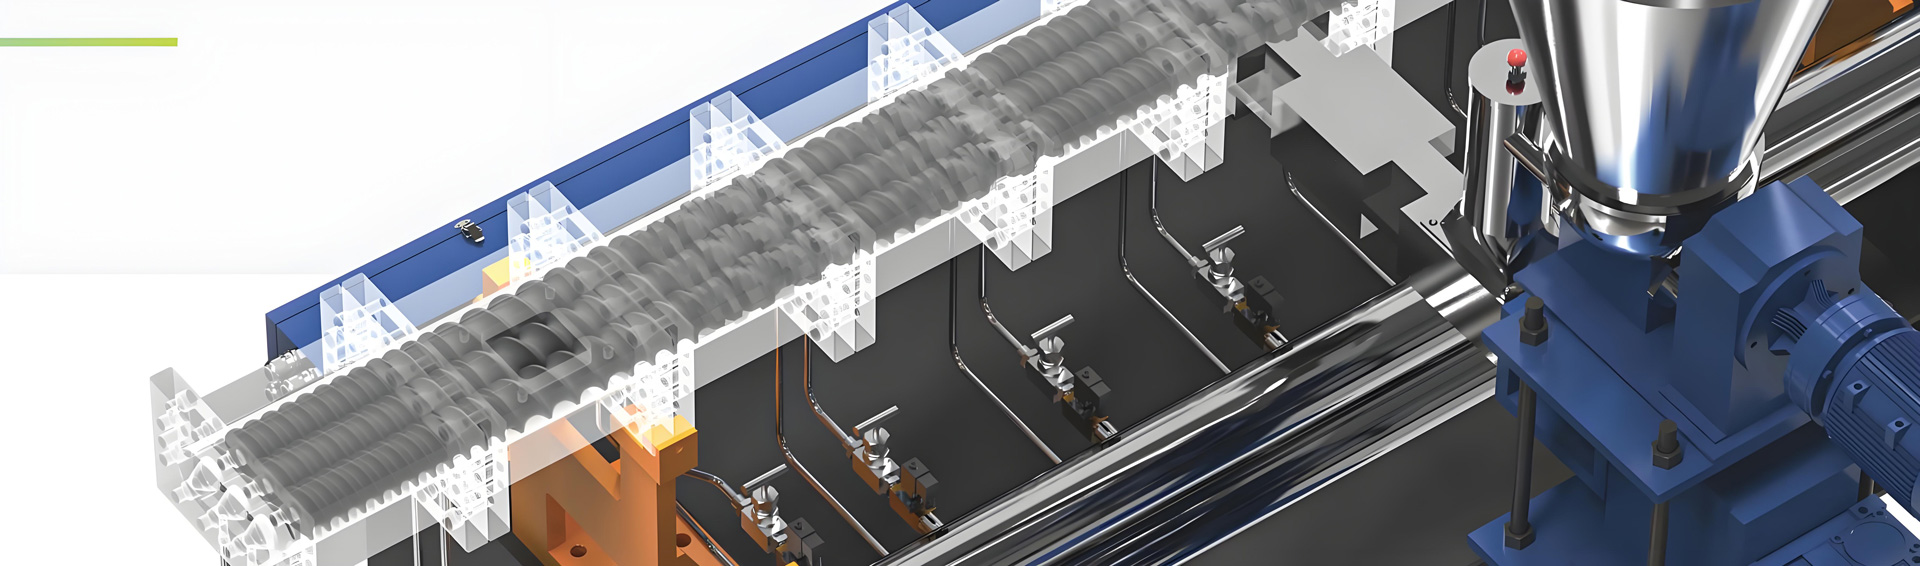
The gearbox is the heart of the extruder and requires specific lubrication. Most modern compounding extruders use forced lubrication systems with coolers and filters. The oil type (synthetic or mineral) and viscosity (e.g., ISO VG 320 or 460) must strictly match the manufacturer’s specification. Filling the system with the wrong oil (e.g., using hydraulic oil instead of gear oil) will destroy the gears and bearings within hours. The hydraulic system (if used for die head changing or screen changing) also needs specific hydraulic oil, often with anti-wear additives. Kerke Extruder provides a detailed lubrication chart specifying the exact quantities and types of fluids for every point.
The initial oil fill can be expensive; a large gearbox might hold 100-200 liters of oil, costing $1,000 to $2,000. It is advisable to circulate the oil through a filter cart before starting the main motor to ensure no debris or metal shavings from manufacturing enter the bearings. This “flushing” process adds a few hours to the setup but can save the gearbox from early failure. The cost of a new gearbox far outweighs the cost of the oil and filter cart rental.
Cold Commissioning and Mechanical Checks
Before applying heat or introducing material, a “cold run” is mandatory. This involves running the motors without heating the barrel. The purpose is to check for mechanical interference, abnormal noises (grinding, screeching), and proper rotation direction. All safety interlocks—emergency stops, guard doors, and limit switches—are tested rigorously. The screw speed is ramped up slowly in increments (e.g., 10%, 30%, 50% RPM) while monitoring vibration sensors on the gearbox and motor. Any vibration above 4mm/s RMS usually indicates a problem, such as misalignment, unbalanced screws, or a bearing issue. Stopping to investigate now prevents catastrophic failure during the hot run.
The control system is also checked during this phase. The HMI touchscreen is tested, and all sensors (temperature, pressure, speed) are calibrated against handheld reference instruments. The PID loops for temperature control are tuned to ensure they respond correctly without overshooting. This phase typically takes 1 to 2 days. The cost of this time is purely labor, but it is the cheapest insurance policy available. Skipping the cold run is a gamble that rarely pays off.
Hot Commissioning and Process Tuning
Once the cold run is successful, the barrel heaters are energized. The temperature is raised gradually to the process setpoint (e.g., 180 degrees Celsius for PP). It is critical to follow the manufacturer’s recommended heating-up curve (e.g., 50 degrees per hour) to allow the metal to expand evenly. Rapid heating can crack the ceramic heaters or warp the barrel, causing permanent damage. Once at temperature, the system is held for 2 to 4 hours to stabilize thermally, ensuring the barrel expansion is complete.
Material introduction begins with a “purge” material (often the base polymer without additives or a dedicated purge compound). The feed rate starts very low (e.g., 10% of capacity), and the screw speed is low. The operator monitors the melt pressure and motor amperage closely. As the material melts, the torque increases. The goal is to fill the screws completely without overloading the motor. Once a stable melt curtain is established at the die (or a consistent strand for strand pelletizing), the formulation is introduced via the side feeders. The vacuum system is turned on. This is the most delicate phase. Adjustments to temperature, speed, and feed rate are made continuously to achieve the target melt temperature and pressure. Kerke engineers usually assist with this phase, using their experience to optimize the screw configuration for the specific material rheology. The cost of this commissioning support is often included in the machine price but represents a significant value in terms of expertise.
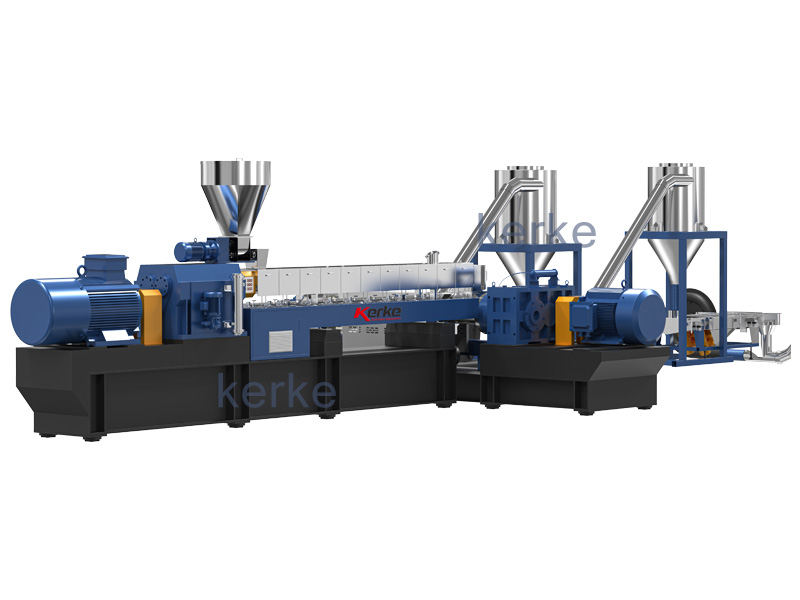
Pelletizing, Quality Control, and Scrap Management
The strand or underwater pelletizing system is started. The cutter speed is synchronized precisely with the extruder output speed. The pellets are collected and sent to the lab for immediate testing. Key quality checks include Melt Flow Index (MFI), color dispersion (using a microscope or filter pressure test), moisture content (Karl Fischer titration), and bulk density. If the pellets are too hot, they will stick together (agglomerate); if too cold, they will be dusty and break during transport. The water bath temperature and cutter speed are adjusted iteratively to achieve the perfect “fingernail test” hardness.
This phase continues until consistent quality is achieved for at least 4 to 8 hours. The cost of material used during commissioning (startup scrap) should be budgeted at roughly 500kg to 1 ton for a new line. This is an unavoidable cost of doing business. However, efficient commissioning minimizes this. Once the process is stable, the recipe is saved in the PLC, and the machine is handed over to the production team. The scrap generated during this phase must be accounted for in the project budget; it is not a loss but an investment in process knowledge.
Operator Training and Final Handover
A crucial part of commissioning that is often overlooked is training the customer’s operators. The manufacturer’s engineer provides comprehensive training on operation, routine maintenance (oil changes, screen changes, filter changes), and basic troubleshooting (reading torque curves, identifying temperature excursions). This usually lasts 3 to 5 days. A comprehensive operation manual, electrical schematics, hydraulic diagrams, and a spare parts list are handed over in both digital and printed formats. Without proper training, the machine is likely to be misused, leading to premature wear and voiding the warranty. The value of this training is immense as it empowers the local team to handle minor issues without waiting for external support, reducing downtime costs significantly. Kerke Extruder provides on-site training as a standard part of the service package, recognizing that a well-trained operator is the best guarantee of machine longevity.
Conclusion
Installing and commissioning a compounding extruder is a multi-stage engineering project that requires careful planning, skilled labor, and strict adherence to technical specifications. From pouring the reinforced concrete foundation to tuning the PID controllers, every step impacts the final performance and efficiency of the machine. While the process involves upfront costs for civil work, utilities, and labor, a proper installation ensures that the expensive machinery operates at peak efficiency with minimal downtime for its 15-20 year lifespan. By following the detailed procedures provided by manufacturers like Kerke Extruder, factories can ensure a smooth startup, rapid achievement of quality targets, and a rapid return on their substantial investment. The commissioning phase is not just a formality; it is the birth of the production capability.